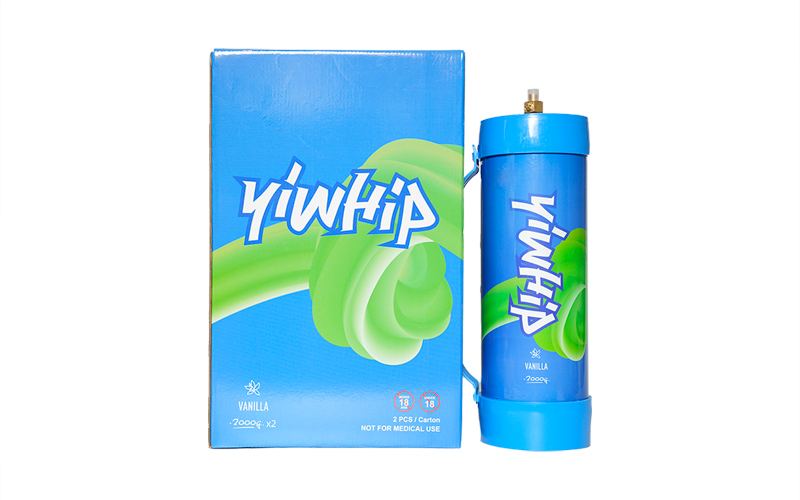
Understanding Whipped Cream Canisters
Whipped cream canisters, also known as cream chargers, are essential tools for creating whipped cream quickly and efficiently. These canisters are typically used in conjunction with a whipped cream dispenser and utilize nitrogen or nitrous oxide to whip the cream into a light and fluffy texture. Understanding how these canisters work is crucial for anyone looking to make whipped cream at home.
When you use a cream charger, the gas inside is released into the dispenser, pressurizing the container. This pressurization allows the cream inside to expand and aerate, creating the delightful texture associated with whipped cream. The beauty of these canisters is that they not only speed up the process but also allow for greater control over the consistency of the cream.
Choosing the Right Whipped Cream Dispenser
Before you start making whipped cream, it’s important to choose the right whipped cream dispenser. While there are various brands and designs available, look for a dispenser that is made from high-quality materials, such as stainless steel. Stainless steel dispensers tend to be more durable and easier to clean.
Furthermore, ensure that your dispenser is compatible with the cream chargers you plan to use. Most dispensers utilize 8-gram nitrous oxide chargers. Additionally, consider the size of the dispenser; if you frequently entertain or have a large family, a larger capacity canister may be beneficial. For those who whip cream occasionally, a smaller model will suffice.
Making the Perfect Whipped Cream at Home
- Gather Your Ingredients: You'll need heavy whipping cream, sugar, and vanilla extract (optional). A standard ratio is 1 cup of cream to 2 tablespoons of sugar, but feel free to adjust this based on your taste.
- Prepare the Dispenser: Before filling your whipped cream dispenser, make sure it is cleaned properly. Unscrew the top, pour in your heavy whipping cream, sugar, and vanilla extract.
- Charge Your Dispenser: After sealing the dispenser, insert a cream charger and screw it on tight. Shake the dispenser vigorously to mix the ingredients and infuse the cream with the nitrous oxide.
- Dispense the Whipped Cream: Hold the dispenser upright and press the lever to release the whipped cream. Aim for a bowl or plated dessert.
Essential Tips for Perfect Whipped Cream
- Always use cold cream: Start with cold heavy whipping cream for the best results.
- Avoid overfilling: Do not exceed the fill line of your whipped cream dispenser to prevent improper whipping.
- Experiment with flavors: Add flavorings like cocoa powder, cinnamon, or extracts to create unique whipped cream variations.
Storing Whipped Cream
Whipped cream made with a canister can last for up to 2 weeks in the refrigerator. Make sure to keep your whipped cream dispenser in a cool place and away from direct sunlight. Also, be mindful not to leave your whipped cream unrefrigerated for extended periods, as this can lead to spoilage.
Conclusion
Making whipped cream at home using whipped cream canisters is a straightforward process that yields delicious results. By understanding the tools and techniques involved, you can elevate your desserts with light, fluffy whipped cream in no time. Remember to choose the right equipment, select high-quality ingredients, and follow the tips outlined to ensure your whipped cream is perfect every time. Whether for topping desserts, beverages, or simply enjoying on its own, homemade whipped cream is a delightful addition to any culinary creation.

